Create a sofa slipcover by measuring, cutting, and sewing fabric to fit your sofa, providing a stylish and protective makeover. Slipcovers for sofas have long been employed as a means of transforming the appearance and extending the lifespan of furniture. This article presents a comprehensive guide to creating a slipcover for a sofa, offering step-by-step instructions from materials and tools needed to finishing touches and final steps.
By following these detailed directions, readers will acquire the necessary knowledge and skills to successfully undertake this endeavor. The information provided herein is delivered in an objective and impersonal manner, catering to an audience seeking both practicality and inclusiveness within their desired community of slipcover makers
Key Takeaways
- Accurate measuring and cutting of fabric using a measuring tape and fabric marker or chalk is essential for making a slipcover for a sofa.
- Sewing the seat and back panels together using a sewing machine or hand stitching will ensure a secure and polished finish.
- Adding piping along the edges of the front panel can provide a neat and decorative touch to the slipcover.
- Creating a skirt to cover the sofa’s base and adding closures such as buttons or Velcro strips will complete the slipcover and make it easy to put on and remove.
Materials and Tools Needed
A list of necessary materials and tools for making a slipcover for a sofa includes fabric, scissors, measuring tape, a sewing machine, thread, and pins. Fabric is the primary material needed to create the slipcover. It should be chosen based on personal preference and the desired outcome. Scissors are essential for cutting the fabric accurately and neatly. Measuring tape ensures precise measurements to ensure a proper fit.
A sewing machine is necessary for stitching the fabric pieces together securely. Thread is used to sew the seams and hold everything in place. Pins help pin the fabric layers together before sewing. These materials and tools are crucial in creating a slipcover that fits properly and enhances the appearance of a sofa while providing protection against wear and tear.
Measuring and Cutting the Fabric

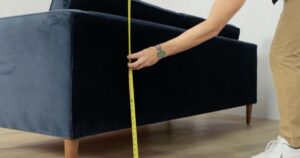
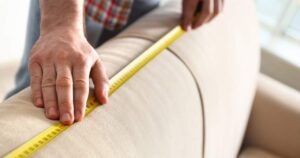
To ensure accurate measurements and precise cuts, it is recommended to use a measuring tape and fabric scissors when creating a slipcover for furniture. Begin by measuring the width, height, and depth of the sofa or chair. Use the measuring tape to carefully record these dimensions. Next, transfer these measurements onto the fabric using a fabric marker or chalk. Ensure that the pattern of the fabric is aligned appropriately with the furniture piece.
Once marked, use fabric scissors to cut along the lines, making sure to follow them precisely. Take your time during this step to avoid any mistakes or uneven cuts. Remember to leave additional allowance for seams if necessary. By using proper measurement techniques and good-quality tools, you can create a slipcover that fits your furniture perfectly.
Sewing the Seat and Back Panels
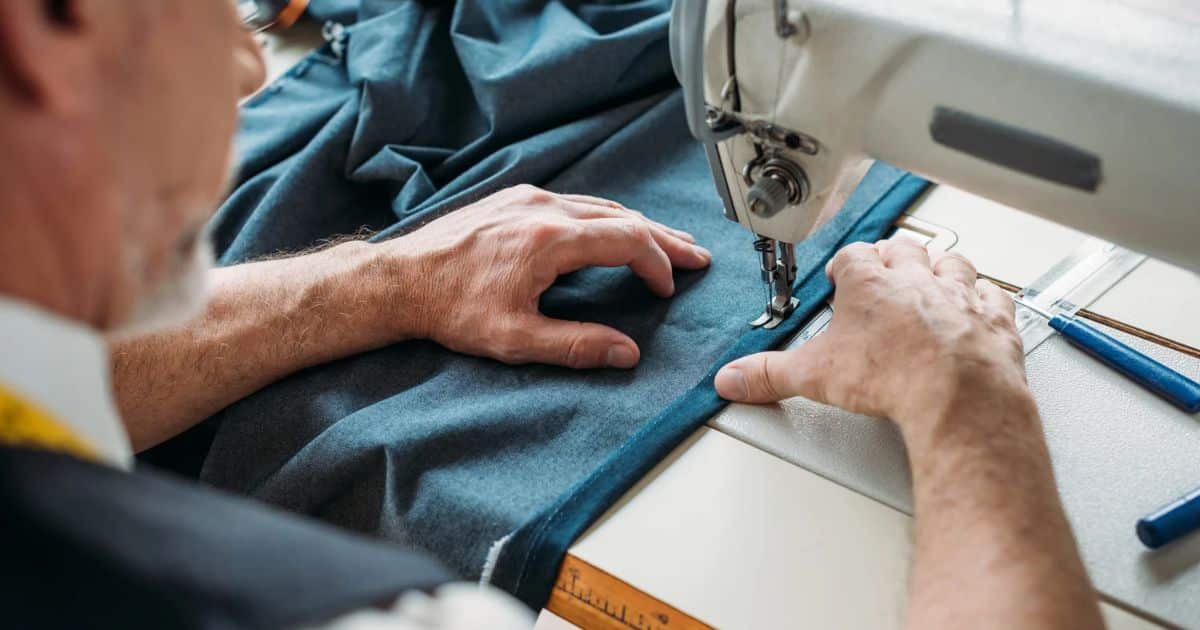
Sewing the seat and back panels of the slipcover involves joining the fabric pieces together using a sewing machine or hand stitching, ensuring that the edges are aligned and secured with appropriate stitches. Start by placing the right sides of the fabric together, matching up the edges. Pin along the edges to keep them in place while sewing. If using a sewing machine, select a straight stitch and sew along the pinned edges, leaving a small seam allowance.
Backstitch at the beginning and end to secure the stitches. If hand stitching, use a needle and thread to create even and tight stitches along the pinned edges. Knot off at both ends for added security. After sewing all sides of both panels, trim any excess fabric and press open seams for a polished finish.
Adding Piping and Front Panel
When adding piping and the front panel to the slipcover, it is important to ensure that the edges of the fabric are aligned and secured with appropriate stitches. Begin by cutting a strip of fabric for piping, approximately 2 inches wide and long enough to go around the edges of the front panel. Fold this strip in half lengthwise and insert a cord or welt cord inside, aligning it with the raw edges.
Stitch close to the cord using a zipper foot attachment on your sewing machine. Next, pin one end of the piping along one edge of the front panel, right sides together. Sew with a straight stitch, keeping as close to the cord as possible. Trim any excess fabric and press open. Repeat this process for all remaining edges of the front panel. This will create a neat finish with visible piping along all four sides.
Creating the Skirt
The next step in the slipcover construction process involves constructing the skirt section, which will provide a polished and cohesive look to the overall design. Creating a skirt for your slipcover requires attention to detail and careful execution. Here are three essential steps to follow:
- Measure and cut fabric: Start by measuring the length and width of the sofa’s base, ensuring you have enough fabric to cover it completely. Cut out a rectangular piece of fabric with these measurements.
- Hemming: Fold up and iron a small hem along each side of the fabric rectangle, approximately 1/2 inch wide. Pin these hems in place before sewing them down using a straight stitch on your sewing machine.
- Attaching the skirt: Align one edge of the skirt with one edge of the front panel previously created, right sides together. Sew them together using a straight stitch, making sure to secure any corners or curves evenly.
Finishing Touches and Final Steps
To complete the slipcover construction process, attention to detail and careful execution are required for applying finishing touches and completing the final steps. The first step in this process is to trim any excess fabric from the slipcover. Using sharp scissors, carefully cut away any extra fabric around the edges of the slipcover, ensuring a clean and neat appearance. Next, press all seams using an iron on a low heat setting.
This will help to create crisp edges and remove any wrinkles or creases that may have formed during the sewing process. Finally, attach any necessary closures such as buttons or Velcro strips according to your design preference. Sew these closures securely onto the slipcover, ensuring they are evenly spaced and properly aligned with corresponding openings or fastening points on the sofa. By following these steps, you can achieve a professional-looking slipcover that adds both style and functionality to your sofa.
FAQ’s
Conclusion
In conclusion, creating a slipcover for your sofa can be a rewarding and cost-effective way to refresh the look of your furniture. By following the step-by-step process outlined in this article, you can achieve professional-looking results. From measuring and cutting the fabric to sewing the panels and adding piping, each stage requires precision and attention to detail. The addition of a skirt adds an elegant touch, while finishing touches such as buttons or ties provide a personalized finish. With patience and creativity, you can transform your sofa into a stylish centerpiece for your living space.