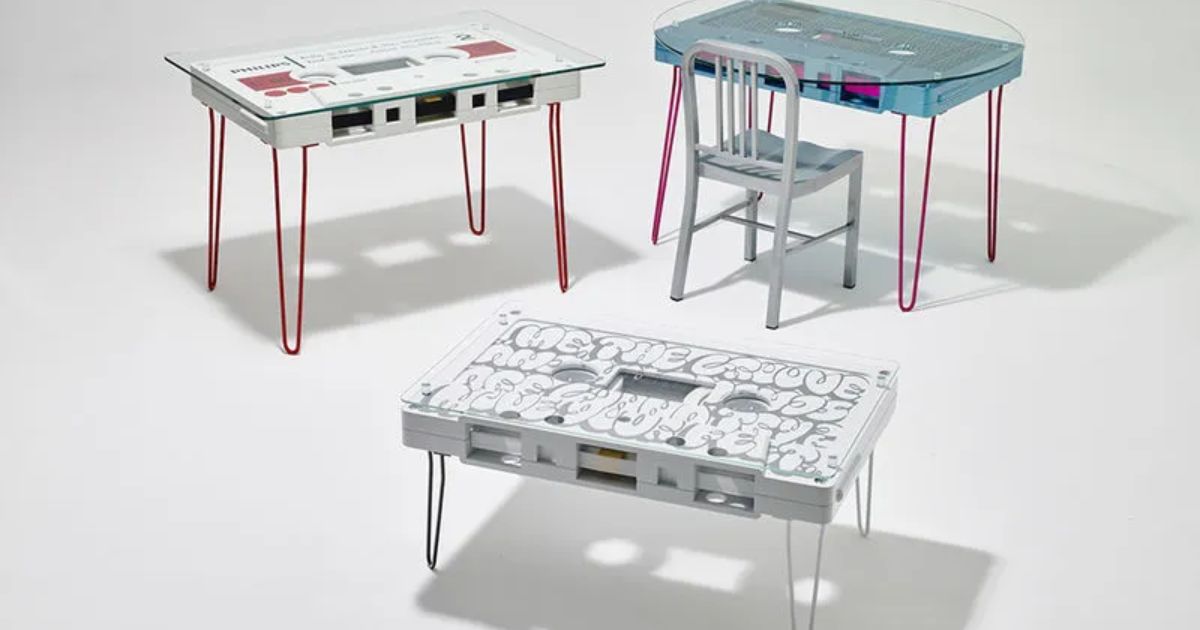
Are you a fan of nostalgia and unique furniture pieces? If so, then you’ll love learning how to create your very own cassette tape coffee table! This article will guide you through the process, providing detailed instructions and a list of tools and materials needed.
From cutting wood pieces to adding cassette accents and finishing touches, you’ll be able to design a coffee table that not only captures your love for music but also adds a touch of vintage charm to your living space. Get ready to embark on a creative journey and bring a piece of your own story into your home.
Key Takeaways
- The cassette tape coffee table is a DIY project that showcases creativity and provides a unique and nostalgic design.
- The table is made from a collection of vintage cassette tapes, highlighting a passion for music and enhancing the vintage vibe.
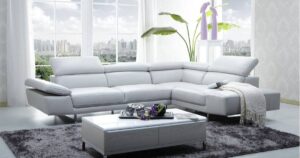
- It is designed to be a professional-looking coffee table that can fit into various living spaces and serve as a versatile backdrop for other furniture and decor.
- Maintenance of the table includes using coasters to protect the surface, cleaning spills immediately, and regularly dusting the table to check for any signs of damage or wear.
Tools and Materials
The tools and materials required to create a cassette tape coffee table are essential for the successful completion of this DIY project. To bring this unique piece of furniture to life, you will need a variety of items. Firstly, gather a collection of old cassette tapes. These will form the main structure of the table and give it its distinctive retro look.
You will need a sturdy wooden tabletop that is the desired size for your coffee table. Other materials include epoxy resin, a mixing container, and a paintbrush for applying the resin. You will also need a drill with appropriate drill bits, screws, and a screwdriver to secure the cassette tapes to the tabletop. Lastly, don’t forget to have sandpaper, primer, and paint on hand to give your table a finished and polished appearance.
Cut Wood Pieces to Size
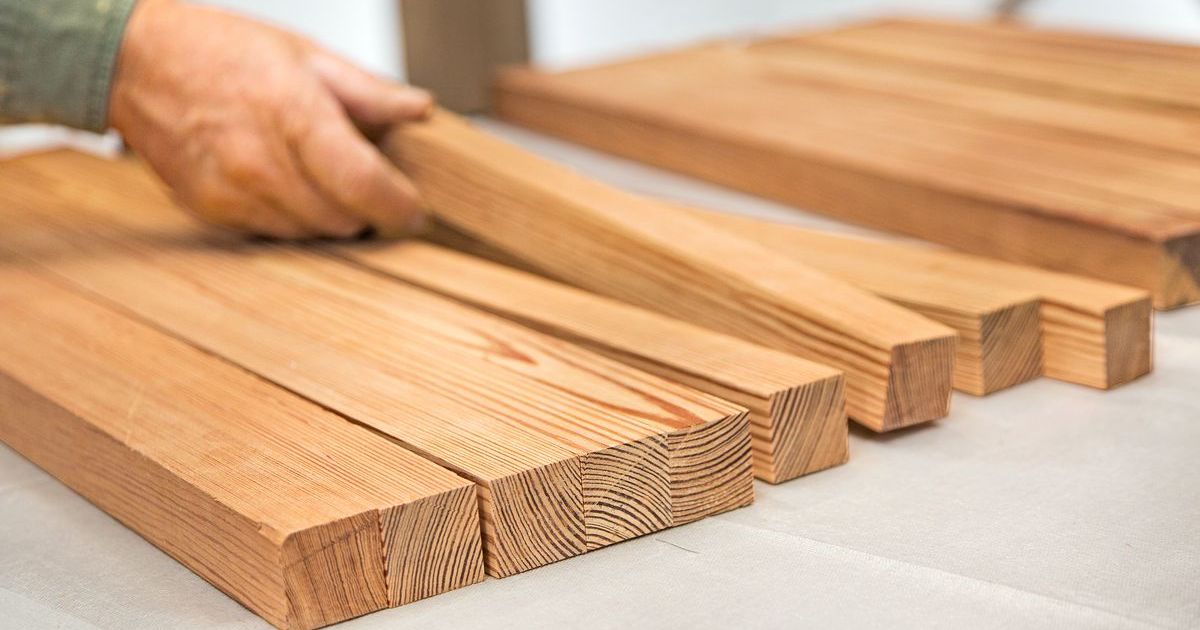
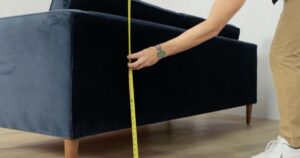
To ensure precise measurements and a proper fit, carefully cut the wood pieces to size using a saw and a measuring tool. This step is crucial in creating a cassette tape coffee table that not only looks aesthetically pleasing but also functions well.
Begin by measuring each wood piece for your A Live Edge Coffee Table according to the dimensions outlined in your design plan. Use a measuring tape to accurately determine the length, width, and height. Once the measurements are taken, transfer them onto the wooden boards using a pencil. Double-check the measurements to avoid any mistakes.
Now, using a saw, carefully cut along the marked lines, ensuring a straight and clean cut. Take your time and maintain a steady hand to achieve the desired results. Remember, precise cuts are essential for a professional-looking coffee table that will bring a sense of belonging to your living space.
Assemble Basic Frame
Once the wood pieces have been cut to size, begin by carefully aligning and attaching them together with screws and wood glue to create the basic frame of the cassette tape coffee table. This step is crucial in ensuring the stability and durability of the table.
Start by placing the longer pieces of wood on the floor, forming the top and bottom of the frame. Then, attach the shorter pieces to the sides, creating the vertical supports. Make sure to align the edges precisely and use a level to ensure everything is straight.
Once aligned, secure the pieces together by drilling pilot holes and inserting screws. Apply wood glue to the joints for added strength. The basic frame serves as the foundation for the next steps in constructing your unique coffee table.
Add Cassette Accents
To incorporate cassette accents into the coffee table design, consider using vintage cassette tapes and cassette cases as decorative elements. These nostalgic additions will not only add a unique touch to your coffee table but also evoke a sense of belonging and nostalgia for those who grew up during the cassette tape era. Here are four creative ways to incorporate cassette accents:
- Tapestry of memories: Arrange vintage cassette tapes on the tabletop in a visually appealing pattern, creating a tapestry of memories that showcases your love for music and the past.
- Case closed: Use cassette cases to create a border around the edges of the coffee table, giving it a retro and authentic look.
- Mixtape magic: Create a collage of cassette tapes on a side panel, reminiscent of the mixtapes we used to make for our loved ones, adding a personal touch to the table.
- Tape spool legs: Replace traditional table legs with cassette tape spools, transforming your coffee table into a conversation starter that highlights your creativity and passion for music.
Paint/Stain
An ideal choice for the paint/stain of the cassette coffee table by Cambrewood would be a neutral color that complements the nostalgic aesthetic of the cassette accents. This will ensure that the table becomes a focal point in any room, evoking a sense of nostalgia and belonging.
A neutral color such as beige, light gray, or even a warm brown would work well in this case. These colors will not only enhance the vintage vibe of the cassette tapes but also provide a versatile backdrop for other furniture and decor. To give you a better idea, here’s a table showcasing some popular neutral paint/stain options:
| Neutral Color | Description |
|---|---|
| Beige | A warm and inviting color that complements various interior styles. |
| Light Gray | A modern and sophisticated choice that adds depth to the table. |
| Warm Brown | A rich and earthy color that exudes warmth and coziness. |
Choose the color that resonates with your personal style and desired aesthetic, and enjoy creating your own unique cassette tape coffee table.
Add Legs
The next step in the process of creating the cassette tape coffee table is to attach four sturdy legs to the bottom of the table surface. This step is crucial as it not only provides stability to the table but also adds an aesthetic appeal to the overall design. Here’s how you can add legs to your coffee table:
- Measure and mark the placement of the legs on the underside of the table surface.
- Pre-drill holes for the screws to ensure a secure attachment.
- Attach the legs using screws or brackets, making sure they are level and aligned.
- Tighten the screws or brackets to secure the legs in place.
Design Story
Once the legs are securely attached to the cassette tape coffee table, it is important to consider the design story behind this unique piece of furniture. The design story is what gives the table its character and makes it a conversation starter in any room.
This coffee table is not just a functional piece, but a statement of individuality and nostalgia. The table is made from a collection of vintage cassette tapes, carefully arranged and sealed to create a smooth and durable surface. Each tape has its own story to tell, representing a different era of music and personal memories. To showcase the eclectic nature of the design, a 3 column and 3 row table is created:
| Column 1 | Column 2 | Column 3 |
|---|---|---|
| 80s Rock | 90s Pop | Classic Jazz |
| Punk | R&B | Soul |
| Disco | Alternative | Hip Hop |
This table invites you to reminisce about your favorite music and be a part of a community that appreciates the timeless appeal of cassette tapes.
Specifications
The specifications for the cassette tape coffee table include dimensions, materials, and weight capacity.
- Dimensions: The coffee table is designed to be compact and functional, measuring approximately 40 inches in length, 20 inches in width, and 18 inches in height. This allows it to fit seamlessly into any living room or lounge area.
- Materials: The table is constructed using a combination of high-quality wood and acrylic materials. The wooden frame provides durability and support, while the acrylic surface adds a sleek and modern touch.
- Weight capacity: The cassette tape coffee table is designed to hold a maximum weight of 50 pounds. This ensures that it can safely accommodate various items such as books, magazines, or even a small television.
With its carefully chosen dimensions, durable materials, and ample weight capacity, this cassette tape coffee table is not only a functional addition to any space but also a stylish statement piece that will make you feel like a true connoisseur of nostalgia.
FAQ’s
Should I keep my old cassette tapes?
Consider keeping your old cassette tapes for sentimental value or nostalgia, but if you no longer have the means to play them or they are deteriorating, digitizing or preserving select favorites might be a practical alternative.
How do you digitize a cassette tape?
To digitize a cassette tape, connect a cassette player to a computer using an audio interface, play the tape, and use audio recording software to capture and save the analog audio as a digital file on your computer.
In conclusion, creating a cassette tape coffee table is a fun and unique DIY project that allows you to showcase your love for music and nostalgia. By following the step-by-step directions provided, you can transform ordinary wood pieces into a stylish and functional piece of furniture.
So, gather your tools and materials, let your creativity flow, and enjoy the process of building your very own cassette tape coffee table. It’s time to bring a touch of vintage charm into your living space!