Welcome to the world of innovation and connectivity, where the boundaries between technology and everyday life seamlessly intertwine. In this article, we embark on a journey to unlock the secrets of building a touch screen coffee table. Step by step, we will delve into the intricate workings of this captivating creation, exploring the necessary components, reverse engineering processes, and the art of crafting a multipoint touch screen. Join us on this adventure as we bring the future to your living room, fostering a sense of belonging in the ever-evolving digital landscape.
Key Takeaways
- Touch screen coffee tables utilize a combination of hardware and software components, including a touch-sensitive glass surface and an internal computer system.
- Creating a comprehensive part list is important to ensure all necessary components, such as a high-quality touch screen, microcontroller board, and additional components, are gathered.
- CCD reverse engineering is necessary to understand the intricate design and functionality of the CCD sensor, which enables touch screen capabilities.
- Building the 2 CCD connection board using precise circuitry schematics and high-quality materials ensures seamless touch functionality on the coffee table.
Step 1: How Does It Work
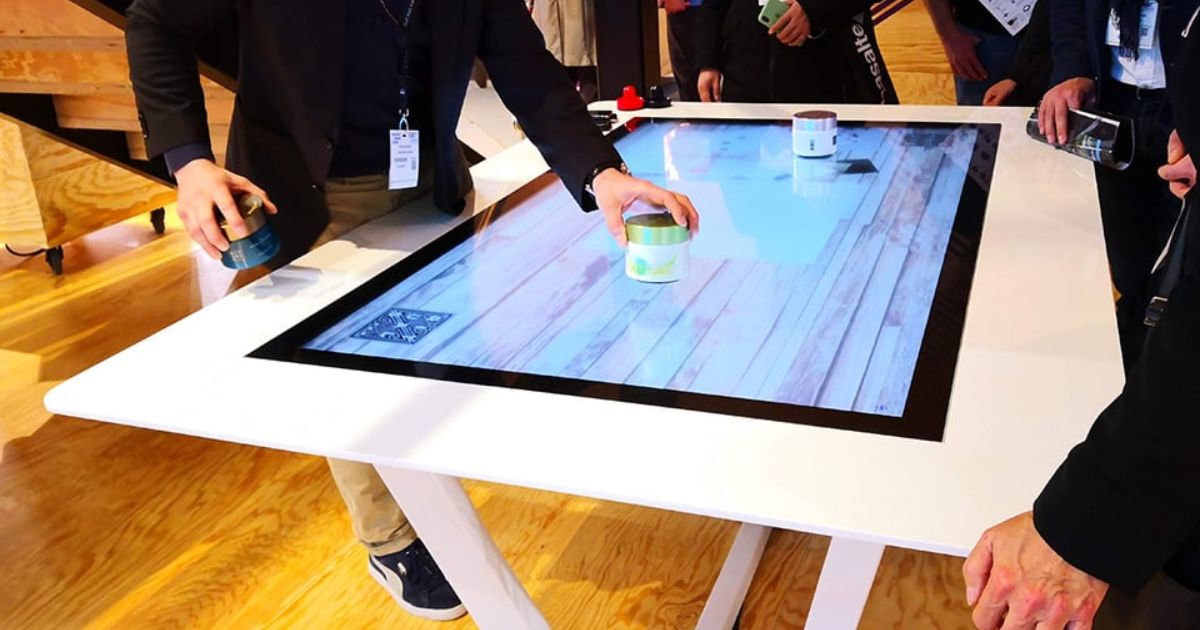
One of the first steps in understanding the functionality of a touch screen coffee table is to examine how it operates. A touch screen coffee table, like A Whiskey Barrel Coffee Table, works by utilizing a combination of hardware and software components. The table is equipped with a touch-sensitive glass surface that detects the user’s touch input.
This touch input is then transmitted to the internal computer system that processes the commands and displays the appropriate response on the table’s surface.
The software operating system installed on the table allows for the execution of various applications and functions, such as browsing the internet, playing games, or controlling multimedia devices. By understanding how the touch screen coffee table operates, individuals can better appreciate the technology behind it and explore the possibilities it offers. Now, let’s move on to the next step: the part list.
Step 2: Part List
After understanding how the touch screen coffee table operates, it is important to create a comprehensive part list in order to gather all the necessary components for building the table. To ensure a successful build, consider the following components:
- Touch Screen: Choose a high-quality touch screen that meets your desired specifications.
- Microcontroller: Select a microcontroller board, such as Arduino or Raspberry Pi, to control the table’s functions.
- Glass or Acrylic: Opt for a durable and transparent material to serve as the tabletop surface.
Step 3: CCD Reverse Engineering Part 1
To begin the process of CCD reverse engineering, it is necessary to carefully analyze the intricate design and functionality of the CCD sensor. The CCD sensor, or Charge-Coupled Device, is a crucial component of the touch screen coffee table.
It is responsible for capturing and converting light into digital signals, allowing for the detection of touch and movement on the table’s surface. Reverse engineering the CCD sensor involves studying its internal structure, including the arrangement of its light-sensitive pixels and the pathways for signal transfer.
By understanding how the CCD sensor works, we can then modify its functionality to enable touch screen capabilities. This step requires a deep understanding of electronics and image sensor technology, as well as attention to detail in order to successfully reverse engineer the CCD sensor.
Step 4: CCD Reverse Engineering Part 2
The next phase of CCD reverse engineering involves conducting extensive testing and analysis to identify the specific components and connections within the CCD sensor. This step is crucial in understanding how the sensor functions and how it can be manipulated for our coffee table project. Here are three key aspects of this phase:
- Component identification: Through meticulous testing, we aim to determine the various components present in the CCD sensor, such as the photodiodes, shift registers, and amplifiers. This knowledge will help us understand the inner workings of the sensor.
- Connection mapping: By carefully studying the interconnections between these components, we can create a detailed map of how signals flow within the CCD sensor. This map is essential for developing our touch screen functionality.
- Signal analysis: Analyzing the signals produced by the CCD sensor during different operations allows us to gain insights into its behavior. This analysis helps us determine the appropriate modifications needed to integrate it into our coffee table design.
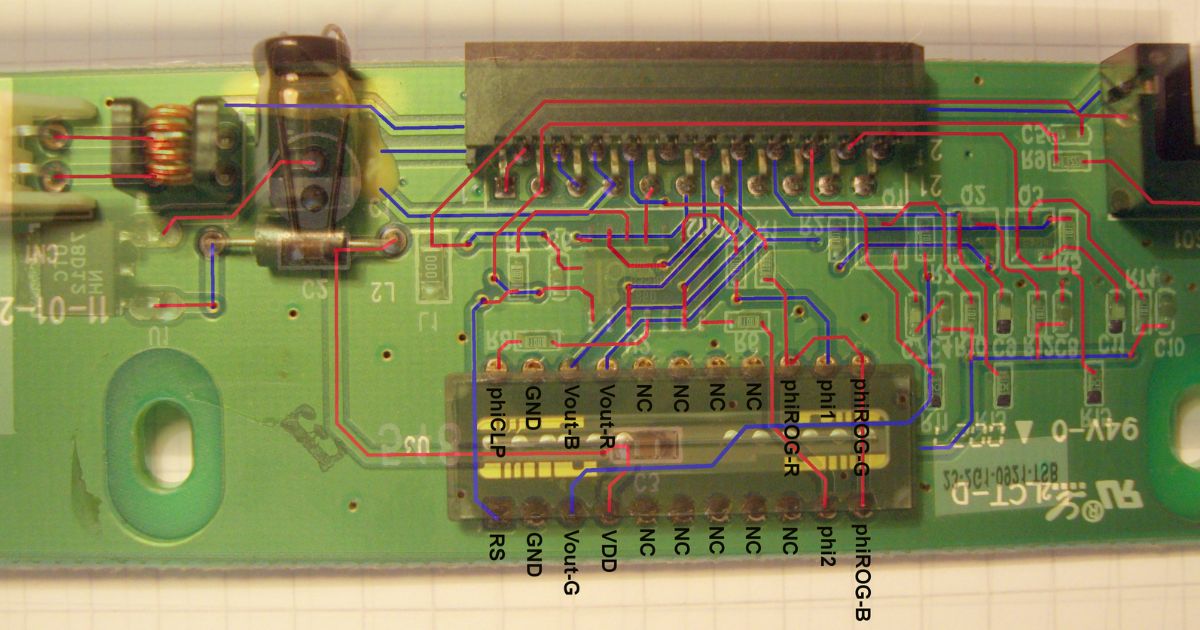
Step 5: Building the 2 CCD Connection Board
With careful planning and precision, we can construct the 2 CCD connection board using high-quality materials and following detailed circuitry schematics. This board plays a crucial role in connecting the CCD sensors to the touch screen, allowing for seamless touch functionality on our coffee table. To help you visualize the process, here is a table showcasing the components required for building the 2 CCD connection board:
| Component | Quantity | Purpose |
|---|---|---|
| Capacitors | 4 | Stabilize voltage |
| Resistors | 2 | Control current flow |
| Connectors | 2 | Establish electrical connections |
Step 6: Building a Touch Screen: Basic Electronic Design
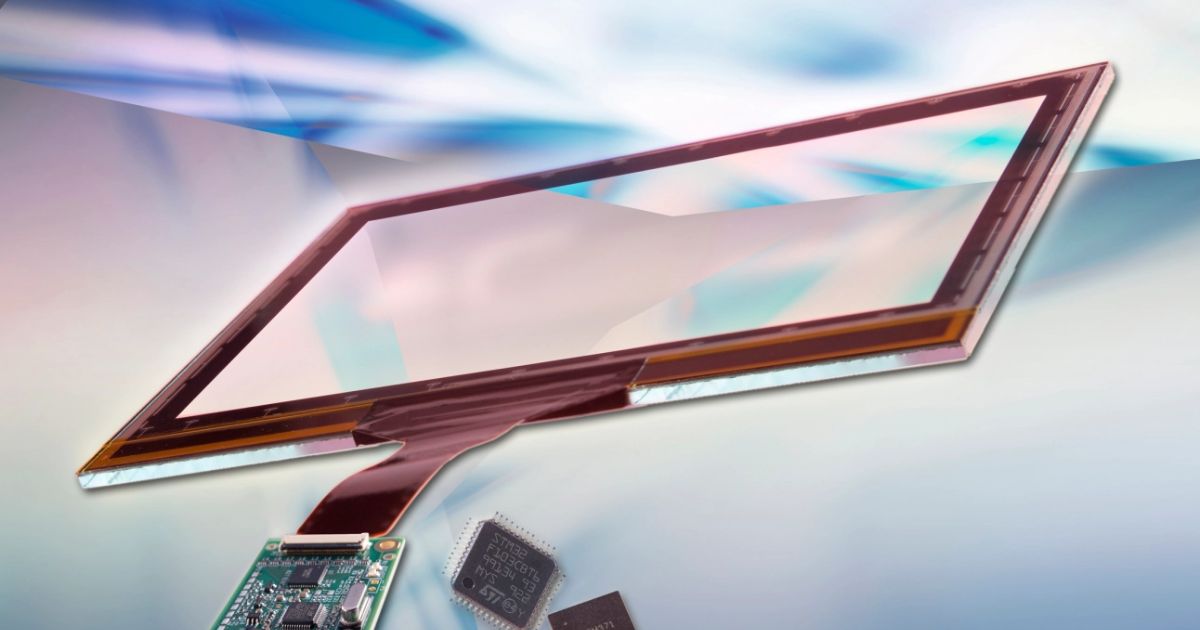
For a seamless touch screen experience, it is crucial to carefully design and integrate the basic electronics using high-quality components and precise circuitry schematics. To achieve this, here are three key considerations to keep in mind:
- Selecting the right touch screen controller: Opt for a controller that offers accurate touch detection and supports multi-touch gestures for a more intuitive user experience.
- Choosing a high-resolution display: Look for a display with vibrant colors and sharp image quality to enhance visual appeal.
- Ensuring proper grounding and shielding: By implementing effective grounding and shielding techniques, you can minimize interference and noise, resulting in better touch screen performance.
Step 7: Building the Touch Screen: Find a Precise X Y Position
How can one determine the precise X Y position when building a touch screen? Finding the accurate X Y position is crucial to ensure the touch screen functions correctly and provides a seamless user experience. To achieve this, several methods can be employed. One common approach is using a resistive touch screen, which relies on pressure to determine the touch location.
Another method involves using a capacitive touch screen, which measures changes in electrical capacitance to detect touch. Optical touch screens use cameras or infrared sensors to track the position of the touch.
Whichever method is chosen, it is essential to calibrate the touch screen to accurately interpret touch inputs. By finding a precise X Y position, the touch screen coffee table can deliver a responsive and intuitive touch experience to its users.
Step 8: Building a Touch Screen: Improve Design and Speed Tests
To ensure optimal functionality and performance, it is imperative to improve the design and conduct speed tests when building a touch screen for the coffee table. Here are some key considerations to keep in mind:
- Design Enhancements: Explore ways to make the touch screen visually appealing while maintaining its practicality. This could include incorporating sleek and durable materials, optimizing the layout for user-friendly interactions, and ensuring proper placement of buttons and icons.
- Touch Responsiveness: Test the touch screen’s responsiveness to ensure it accurately detects and registers user input. Fine-tune the sensitivity settings to strike the right balance between being too sensitive or unresponsive.
- Speed Optimization: Conduct speed tests to assess the touch screen’s performance and identify any areas for improvement. This can involve analyzing response times, multitouch capabilities, and overall system efficiency.
Step 9: Multipoint Algorithm
Implementing an efficient multipoint algorithm is crucial to ensure accurate and seamless touch detection on the coffee table’s touch screen. This algorithm is responsible for interpreting multiple touch points simultaneously and accurately tracking their movements. By utilizing advanced mathematical calculations and sophisticated algorithms, the touch screen can detect and differentiate between various touch inputs, allowing users to interact with the coffee table effortlessly.
The multipoint algorithm takes into consideration factors such as touch pressure, speed, and trajectory to accurately interpret the user’s intentions. It ensures that each touch point is recognized individually, allowing for multitouch gestures like pinch-to-zoom or swipe gestures. This technology enhances the user experience by providing a seamless and intuitive interaction with the coffee table.
To implement an efficient multipoint algorithm, developers need to consider factors like touch resolution, sampling rate, and touch sensitivity. By fine-tuning these parameters, they can optimize the algorithm for accurate and responsive touch detection.
Step 10: Electronic Connection
To establish the electronic connection, carefully connect the touch screen display and the control board using the specified connectors and cables. This step is crucial in ensuring the proper functioning of your touch screen coffee table. Here are some important points to keep in mind:
- Use the connectors and cables provided with the touch screen display and control board to ensure compatibility and optimal performance.
- Make sure to align the connectors correctly and firmly attach them to their respective ports.
- Double-check all connections to ensure they are secure and properly seated.
Step 11: Arduino Teensy Software
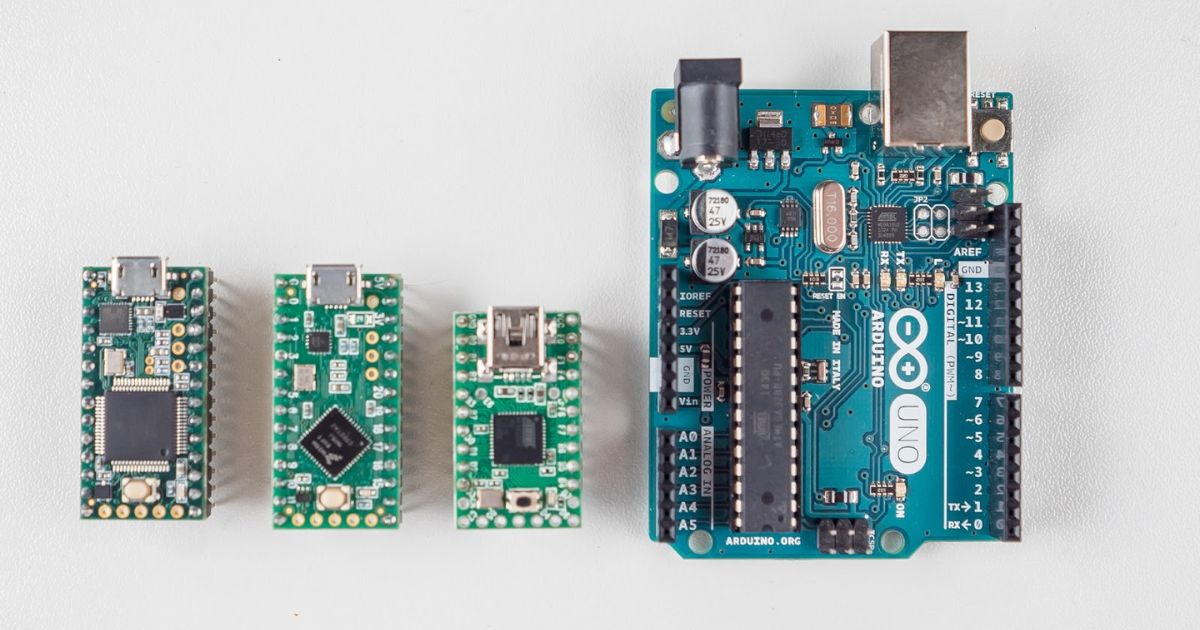
The Arduino Teensy software is a crucial element in programming and controlling the touch screen functionality of your coffee table. This software allows you to customize the behavior and features of your touch screen, giving you the power to create a unique and personalized user experience.
With the Arduino Teensy software, you can program various touch gestures, such as swiping, tapping, and pinching, and map them to specific functions or actions on your coffee table.
This software provides an interface for integrating other components of your coffee table, such as the LED lights or speakers, allowing for a seamless and immersive user experience. By utilizing the Arduino Teensy software, you can truly bring your touch screen coffee table to life and create a one-of-a-kind piece that will impress and delight your friends and family.
Conclusion
In conclusion, building a touch screen coffee table involves understanding the working principles, acquiring the necessary parts, reverse engineering the CCD, building the connection board, improving the design and conducting speed tests, implementing a multipoint algorithm, establishing electronic connections, and programming the Arduino Teensy software.
One interesting statistic is that touch screen technology is expected to reach a market size of $137.2 billion by 2027, highlighting its growing popularity and potential for innovation in various industries.