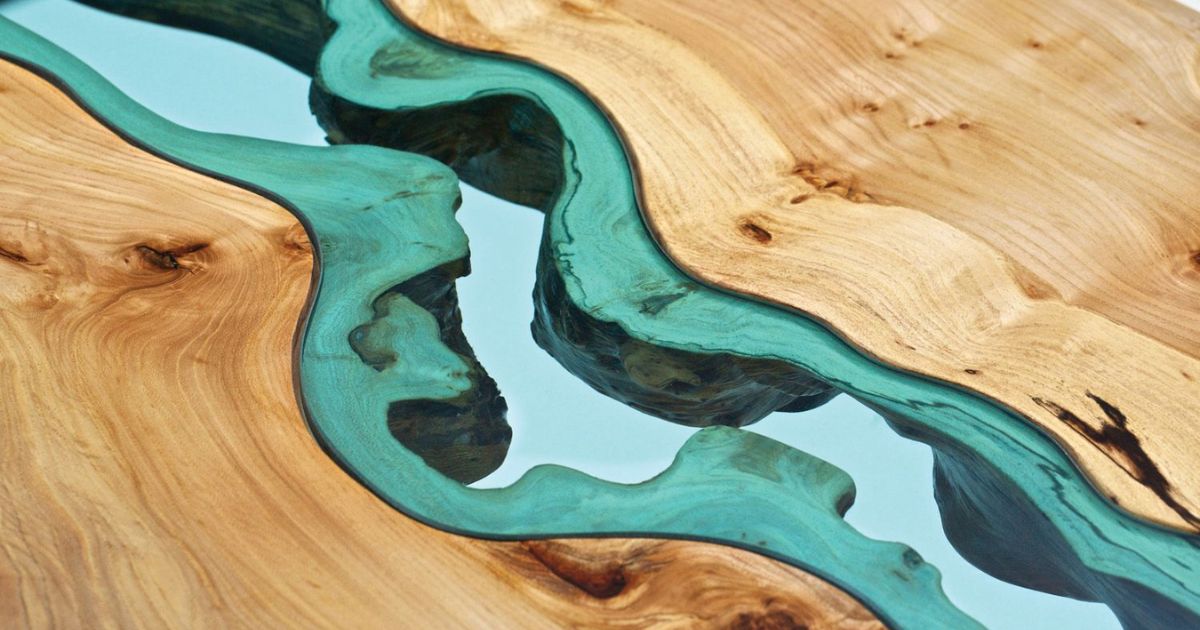
Are you ready to bring nature indoors and add a touch of rustic elegance to your living space?
In this detailed and practical guide, we will show you how to build a stunning live edge coffee table that will become the centerpiece of your home.
From selecting the perfect slab to mastering the art of joinery, this step-by-step tutorial will provide you with the knowledge and skills needed to create a beautiful and functional piece of furniture that will make you feel a sense of belonging in your own home.
Key Takeaways
- Levelling the slab is an important step in the construction process.
- Proper frame preparation is necessary for stability and durability.
- Ripping the rails to the desired width is crucial for achieving the desired aesthetic.
- The choice of joinery technique for attaching the legs to the rails depends on personal skills and preferences, but a strong and durable connection is essential.
Step 1: Tools & Materials
The first step in building a live edge coffee table requires gathering the necessary tools and materials.
To successfully complete this project, you will need a few key items.
First, ensure you have a sturdy workbench or table where you can safely work on the table’s construction.
Additionally, you will need a variety of tools, including a circular saw or a bandsaw to cut the live edge slab to your desired dimensions.
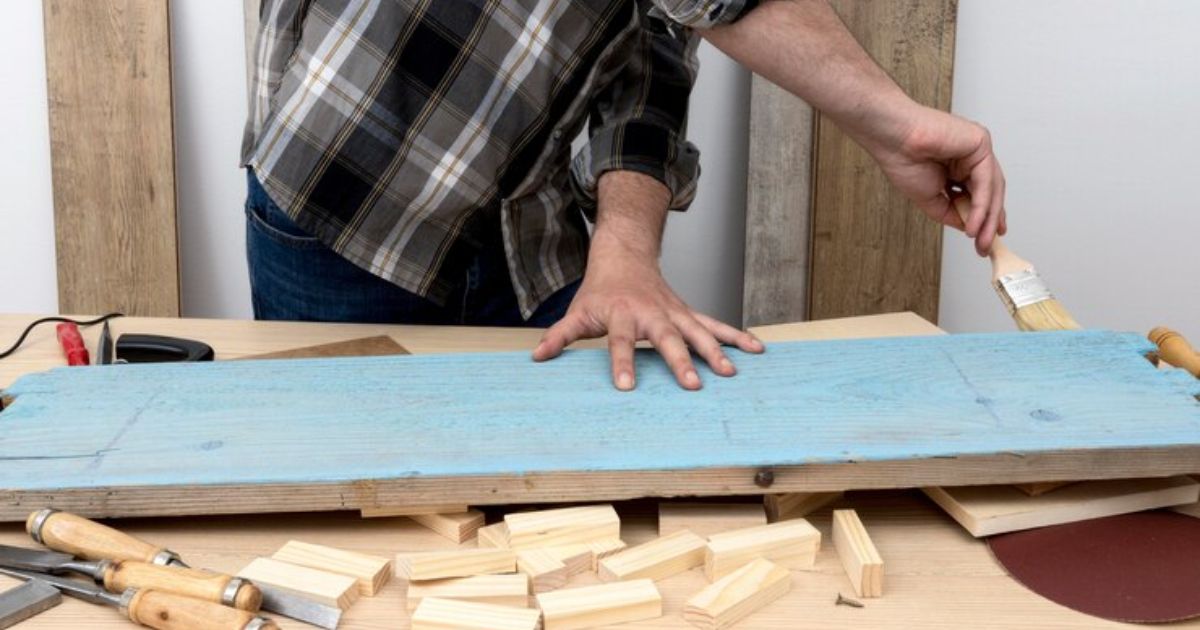
A power sander or sandpaper will be necessary to smooth out the rough edges and surfaces.
You will also need clamps to hold the wood in place during the construction process.
Lastly, gather materials such as the live edge slab, wood glue, screws or nails, and a finish of your choice to protect and enhance the natural beauty of the wood.
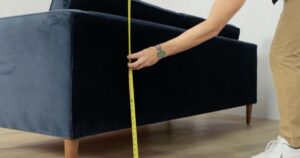
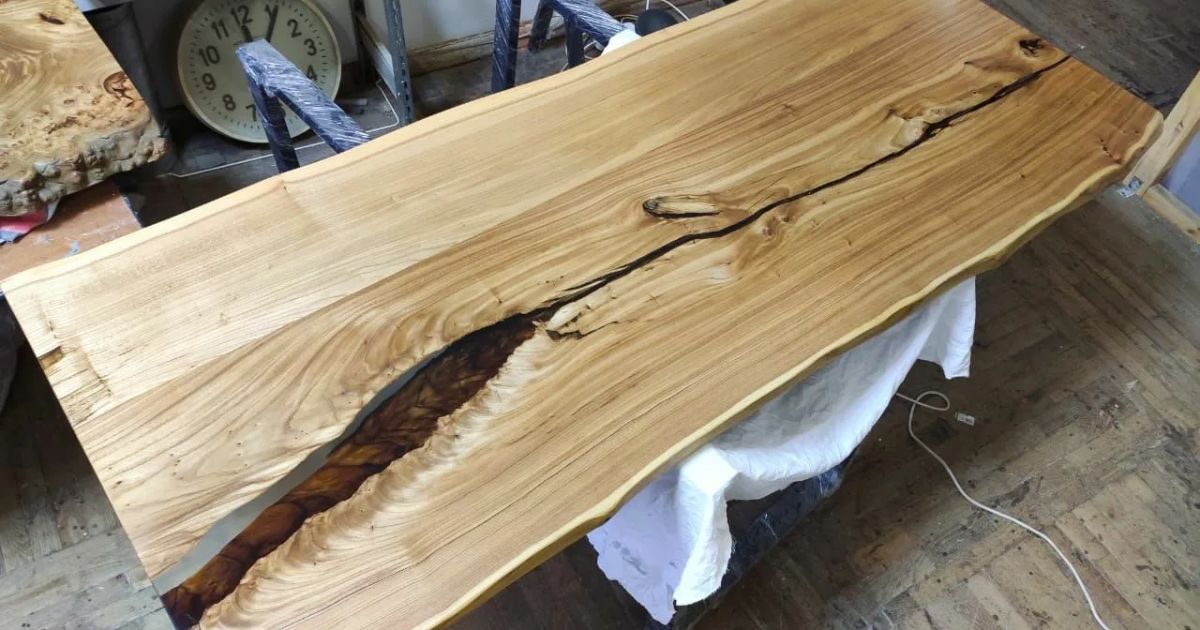
Step 2: Levelling the Slab
To properly level the slab and create a stable foundation for your live edge coffee table, you may also need to consider the addition of a small outdoor coffee table. Use a straight edge and a level to complete this step, which is crucial for ensuring your coffee table’s stability and balance. Start by placing the straight edge across the slab in different directions to identify any high or low spots. Use the level to determine the angle and adjust accordingly. Here is a table summarizing the leveling process:
| Step | Actions |
|---|---|
| 1. | Place the straight edge across the slab. |
| 2. | Identify high or low spots. |
| 3. | Adjust the angle using the level. |
| 4. | Repeat steps 1-3 until the slab is level. |
Step 3: Frame Preparation
How can you ensure that the frame is properly prepared for the construction of your live edge coffee table? Frame preparation is a crucial step in building a sturdy and durable coffee table. Here are three important tasks to complete during this stage:
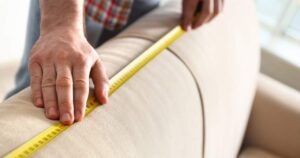
- Measurements and Cutting:
Take accurate measurements of the slab and mark the dimensions on the frame. Use a reliable saw to cut the frame pieces according to the measurements. Ensure that the cuts are clean and precise to ensure a proper fit.
- Sanding and Smoothing:
Smooth out any rough edges or uneven surfaces on the frame using sandpaper. This will create a polished look and prevent any potential splinters or injuries.
- Reinforcement and Joinery:
Strengthen the frame by adding additional support beams or braces as needed. Use appropriate joinery techniques, such as screws, nails, or dowels, to secure the frame pieces together securely.
Step 4: Ripping the Rails
During this step, you will rip the rails to the desired width using a table saw and a straight edge as a guide. Ripping the rails is an essential part of building a live edge coffee table as it determines the overall size and stability of the piece.
To begin, measure the width you want for your rails and mark it on the wood. Next, set the table saw blade to the desired width, ensuring it is parallel to the straight edge. Carefully guide the wood through the table saw, keeping it flush against the straight edge. Repeat this process for each rail until you have achieved the desired width for A Live Edge Epoxy Resin Table.
Once the rails are ripped, you can move on to step 5: joinery – legs, where you will learn how to attach the legs securely to the rails.
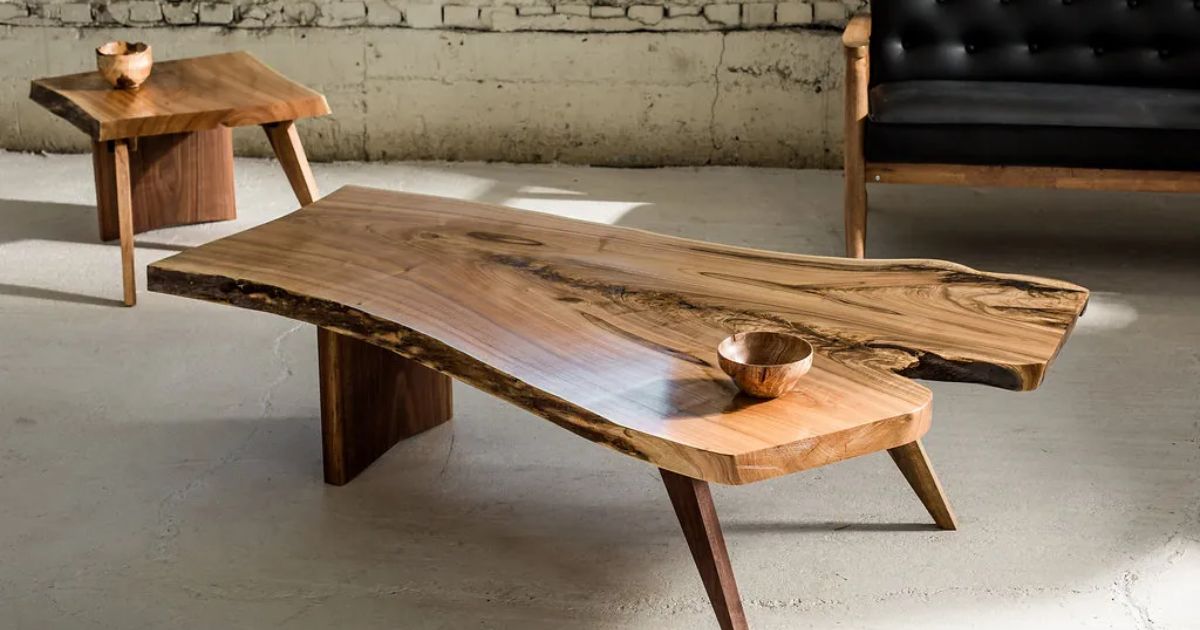
Step 5: Joinery – Legs
The legs of the live edge coffee table can be joined to the rails using a variety of techniques, such as mortise and tenon or dowel joinery. These joining methods ensure a strong and sturdy connection between the legs and rails, ensuring the stability of the table.
Here are three options for joining the legs to the rails:
- Mortise and Tenon: This traditional joinery technique involves creating a mortise (a rectangular hole) in the rail and a corresponding tenon (a projection) on the leg. The tenon is then inserted into the mortise and secured with glue or dowels.
- Dowel Joinery: This method involves drilling holes in both the leg and the rail and inserting dowels to connect the two pieces. The dowels provide added strength and stability to the joint.
- Pocket Hole Joinery: This technique involves drilling angled holes in the rail and using screws to attach the legs. It is a quick and easy method but may not provide as strong a connection as the other two options.
Choose the joinery technique that best suits your skills and preferences, ensuring a solid and durable coffee table that will be a centerpiece in your living space for years to come.
Step 6: Joinery – Rails
First, attach the rails to the legs using the chosen joinery technique. The rails are an essential component of the coffee table as they provide stability and support. There are various joinery techniques you can use, such as mortise and tenon, dowels, or pocket screws, depending on your skill level and preference.
To begin, measure and mark the position of the rails on the legs. Ensure that the rails are aligned properly to create a level surface. Next, cut the joinery slots or holes on both the rails and the legs. Take your time to make precise cuts to ensure a tight and secure fit.
Once the joinery is prepared, apply a small amount of wood glue to the joints and insert the rails into the corresponding slots or holes. Use clamps to hold the pieces together and allow the glue to dry as per the manufacturer’s instructions.
After the glue is fully cured, remove the clamps and sand the joints to achieve a smooth finish. Check for any gaps or inconsistencies and make any necessary adjustments. Now, your coffee table is one step closer to being completed.
Step 7: Joinery – Mortises
For this step, you will need to create multiple mortises on the tabletop and the legs to ensure a strong and secure connection. Mortises are rectangular holes that will receive the tenons, or protruding ends, of the rails. Here’s how to do it:
- Measure and mark the locations for the mortises on both the tabletop and the legs.
- Use a chisel and a mallet to carefully remove the wood within the marked areas, creating the mortises.
- Ensure that the mortises are deep enough to accommodate the tenons, but not too deep to weaken the structure.
Creating accurate and well-fitted mortises is crucial for the stability and longevity of your coffee table. Take your time and be precise to achieve a professional result.
Step 8: Base Rails
To ensure stability and structural integrity, it is necessary to attach the base rails to the mortises in the legs using both glue and screws.
The base rails serve as the support system for the live edge coffee table, providing a strong foundation for the tabletop.
Begin by applying a thin layer of wood glue to the mortise and tenon joints. This will help create a strong bond when the pieces are joined together.
Insert the tenons of the base rails into the mortises of the legs, ensuring a snug fit.
Once the pieces are aligned, secure them together by driving screws through the pre-drilled holes in the base rails and into the legs. This will further reinforce the connection and ensure the base is sturdy.
Repeat this process for all the base rails, making sure each joint is properly glued and screwed.
Frequently Asked Questions
How Do I Choose the Right Type of Wood for a Live Edge Coffee Table?
When selecting the appropriate wood for a live edge coffee table, it is crucial to consider factors such as durability, grain pattern, stability, and personal preference. Understanding these aspects will ensure the creation of a visually appealing and long-lasting piece.
What Are Some Common Mistakes to Avoid When Building a Live Edge Coffee Table?
When building a live edge coffee table, it is important to avoid common mistakes. These may include improper wood selection, inadequate support structure, uneven sanding, and poor finish application. Attention to detail and adherence to proper techniques will ensure a successful project.
How Can I Protect the Live Edge of the Slab During the Construction Process?
To protect the live edge of the slab during construction, it is important to handle the piece with care and avoid any unnecessary stress or pressure. Applying a protective finish or using masking tape can also help prevent damage.
What Are Some Alternative Options for the Base of a Live Edge Coffee Table?
Several alternative options for the base of a live edge coffee table include metal hairpin legs, wooden trestle bases, and custom-designed metal or wood frames. These options provide stability and aesthetic appeal to complement the natural beauty of the live edge slab.
Can I Use Reclaimed Wood for Building a Live Edge Coffee Table?
Yes, reclaimed wood can be used to build a live edge coffee table. It provides a unique, rustic aesthetic and is an environmentally-friendly choice. Proper preparation and finishing will ensure durability and longevity of the table.
Conclusion
In conclusion, building a live edge coffee table requires careful planning and precise execution.
By following the step-by-step instructions provided in this article, you will be able to create a beautiful and unique piece of furniture that will impress your guests.
Whether you are a seasoned woodworker or a beginner, this project is a great way to showcase your skills and add a touch of rustic elegance to your home. So grab your tools and get ready to embark on an exciting woodworking adventure!