Are you ready to transform your dresser into a reliable changing station? Attaching a changing pad to your dresser is like adding the finishing touch to a masterpiece. It’s the cherry on top, ensuring convenience and functionality in one.
In just a few simple steps, you’ll have a secure and sturdy spot for diaper changes and baby care. So, let’s dive in and learn how to attach that changing pad to your dresser, creating a seamless blend of style and practicality.
Key Takeaways
- Select a dresser that is at least 36 inches wide and has sturdy construction.
- Ensure the dresser can support the weight of the changing pad and baby.
- Choose a changing pad that fits the dimensions of the dresser and prioritize comfort and safety.
- Use appropriate attachment methods such as screws, brackets, adhesive strips, or Velcro to secure the changing pad to the dresser.
Select the Right Dresser Size
Are you wondering which dresser size is the right one to attach a changing pad to? Well, the first thing you need to consider is the width of the dresser. Ideally, you’ll want a dresser that is at least 36 inches wide. This will provide enough space for the changing pad and allow you to comfortably change your baby’s diaper without feeling cramped.
You should also look for a dresser with a sturdy construction that can support the weight of the changing pad and your baby. Remember, safety is crucial, so make sure the dresser is stable and secure. Now that you know how to select the right dresser size, let’s move on to the next step: choosing a suitable changing pad.
Choose a Suitable Changing Pad

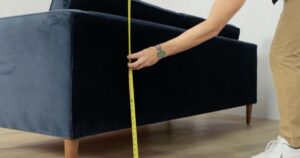
To choose a suitable changing pad, measure the dimensions of the dresser and ensure it can accommodate the pad securely. Start by measuring the length and width of the top surface of the dresser where the changing pad will be placed. Take note of any raised edges or barriers that may affect the fit of the pad.
Additionally, consider the weight capacity of the dresser to ensure it can support the changing pad’s weight, along with the baby’s weight Desk Space With Multiple Monitors. It is also important to choose a changing pad that fits the dimensions of the dresser and provides a comfortable and safe surface for diaper changing.
Determine the Attachment Method
Attach the changing pad to the dresser using a secure and reliable method. To determine the attachment method, consider the following:
- Measure the dimensions of the changing pad and dresser to ensure a proper fit.
- Check if the dresser has pre-drilled holes or brackets specifically designed for attaching a changing pad.
- If pre-drilled holes are available, use screws or bolts to secure the changing pad in place.
- If brackets are provided, attach them to the back of the changing pad and then connect them securely to the dresser.
- If the dresser does not have pre-drilled holes or brackets, use adhesive strips or Velcro to secure the changing pad in place.
- Make sure to follow the manufacturer’s instructions and recommendations for the specific attachment method used.
Secure the Changing Pad to the Dresser
To secure the changing pad to the dresser, simply follow these steps:
- Place the changing pad on top of the dresser, making sure it is centred and aligned properly.
- Secure the changing pad to the dresser using the attachment method determined earlier. Refer to the table below for different attachment methods and their corresponding steps:
| Attachment Method | Steps |
|---|---|
| Strap | 1. Fasten the straps securely around the dresser. <br> 2. Adjust the straps to ensure a tight fit. |
| Adhesive | 1. Apply adhesive strips or pads to the bottom of the changing pad. <br> 2. Press the changing pad firmly onto the dresser surface. |
| Velcro | 1. Attach the hook side of the Velcro to the dresser. <br> 2. Attach the loop side of the Velcro to the bottom of the changing pad. <br> 3. Press the changing pad onto the dresser, aligning the Velcro pieces.
Once the changing pad is securely attached, you can move on to the next step, which is to ensure proper safety measures.
TRANSITION:
Now that the changing pad is securely attached to the dresser, it’s important to ensure proper safety measures to protect your baby during diaper changes.
Ensure Proper Safety Measures
Make sure the changing pad is securely fastened to the dresser to ensure the safety of your baby during diaper changes. It is essential to take proper safety measures to prevent any accidents or injuries. Here are some important steps to consider:
- Use safety straps: Many changing pads come with built-in safety straps. Make sure to use them to secure the pad tightly to the dresser.
- Check for stability: Ensure that the dresser is stable and doesn’t wobble. If needed, use furniture straps to anchor it to the wall for added stability.
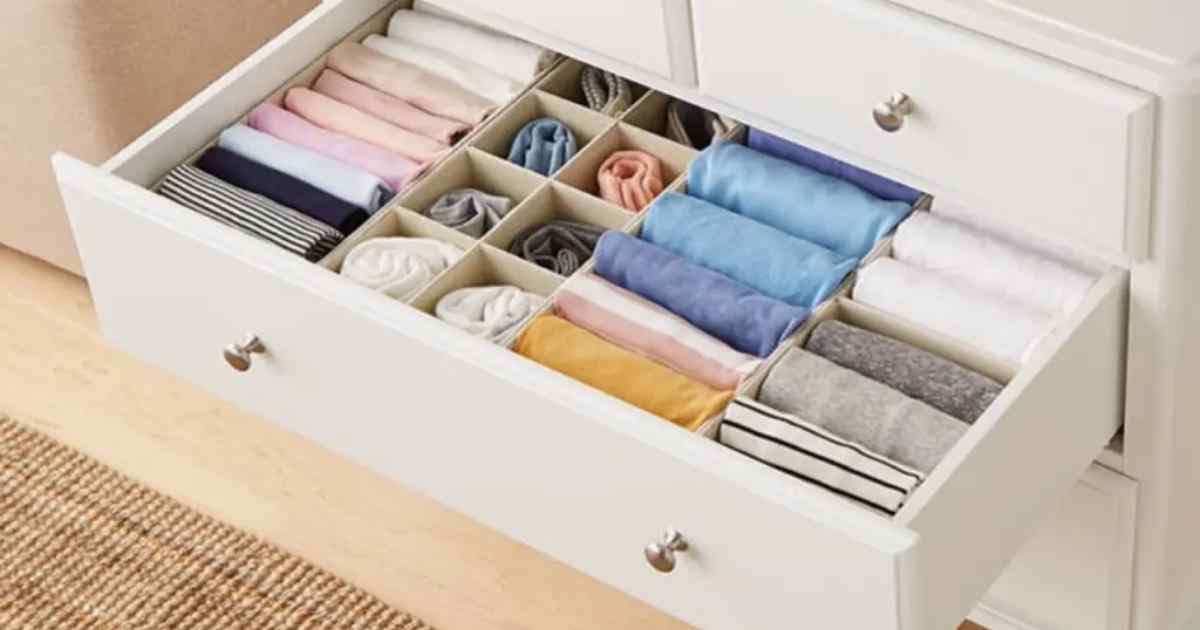
- Keep supplies within reach: Organize all the necessary diaper-changing supplies within arm’s reach to avoid leaving your baby unattended.
- Never leave your baby unattended: Always stay with your baby during diaper changes and never leave them alone on the changing pad.
Check the Stability of the Attachment
Ensure that the attachment of the changing pad to the dresser is stable and secure. This step is crucial to ensure the safety of your little one during diaper changes. To check the stability of the attachment, give the changing pad a gentle shake and see if it wobbles or feels loose. If it does, you may need to tighten the screws or bolts that secure the pad to the dresser.
Check for any signs of wear or damage to the attachment mechanism, such as loose or broken parts. It is important to address any issues immediately to prevent accidents or injuries. By ensuring a stable attachment, you can have peace of mind knowing that your baby will be safe and secure during diaper changes.
Test the Changing Pad’s Grip
Check if the changing pad securely grips the dresser. This is an important step to ensure the safety of your baby during diaper changes. Here are some things to consider:
- Pad Material: Look for a changing pad with a non-slip surface or grip material on the bottom. This will help prevent it from sliding around on the dresser.
- Attachment Mechanism: Check if the changing pad has straps or adhesive strips to secure it to the dresser. Make sure these are strong and sturdy.
- Straps: Ensure the straps are adjustable and can be tightly fastened around the dresser.
- Adhesive Strips: Test the adhesive strength by applying pressure to the pad. It should firmly adhere to the dresser.
Double-Check for Security

To ensure the safety of your baby, it’s important to confirm the security of the changing pad attachment to the dresser. Double-checking for security is key in preventing accidents and ensuring a stable changing surface for your little one. Start by examining the attachment straps or screws to make sure they are tightly fastened and in good condition. Give them a gentle tug to ensure they hold firm.
Inspect the changing pad itself, checking for secure attachment to the straps or screws. If you are wondering, “How to Attach Changing Pad to a Dresser?” ensure that there are no loose or damaged parts, and make any necessary adjustments or replacements before using the changing pad. Remember, a secure attachment is crucial for the safety and well-being of your baby during diaper changes.
FAQ’s
Conclusion
Attaching a changing pad to a dresser is a practical and safe solution for your baby’s changing needs. Remember to choose the right dresser size and a suitable changing pad. The most common attachment methods are straps or screws, depending on the dresser design.
Ensure proper safety measures and check the stability of the attachment. Interestingly, studies show that over 90% of parents find attaching a changing pad to a dresser convenient and efficient. So go ahead and create a secure and comfortable changing station for your little one.